

Everyone wants to experiment something new with their body these days. One of the latest trends of this era is the Tattoo fashion but this kind of body art often leads many to regret later as it can make adverse effects on body depending upon the nature of skin and the chemicals used in the process. Many of us end up fearing the negative impacts of the tattoo art on our body and the wish stays there deep inside forever! but what if you are able to try this body art without permanently altering your skin? Well, A temporary tattoo is the way to go which can be done with just a few household supplies and items from the craft store Plus you do not need to fear any reactions on your skin Moreover, You can change them with the varying tattoos designs coming everyday. Learn these easy four techniques for making temporary tattoos: by using an eyeliner pencil, using a stencil, and printing one on paper.
1. Creating An Eyeliner Tattoo
Step 1: Design the Tattoo
To make a great tattoo, put some thought into its design before you apply it to your skin. Use a regular pencil and paper to sketch out some ideas, keeping the following pointers in mind:
- Your eyeliner tattoo will look best with bold, simple strokes. Finer lines and more complicated designs could be more likely to smudge and become unrecognizable. Stick with clear shapes.
- Decide how large you want it to be. A bigger tattoo may be more likely to appear to be hand drawn, whereas a smaller tattoo may look more “authentic.” Design your tattoo according to the effect you want to achieve.
Step 2: Pick out Eyeliner
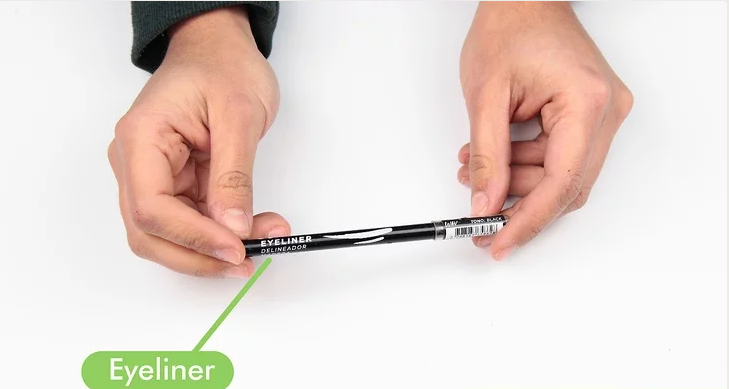
Most of the ladies already have a black Eyeliner in their beauty collection, for guys you can get it on a drugstore. just buy a simple eyeliner pencil, the type that needs to be sharpened. Pick one that isn’t meant to be shiny or oily; a pencil that makes smooth, dry marks will make a longer-lasting smudge-free tattoo.
- Jet black eyeliner makes for a striking temporary tattoo, but there’s no reason not to choose more than one color. Try emerald, purple, and sapphire to create your design or add a small accent.
- Avoid liquid eyeliner. It’s more difficult to keep this type of eyeliner in place on parts of your body other than your eyelids.
- Practice drawing your design with your chosen eyeliner pencils on paper. Get used to the pressure you need to exert to create smooth strokes.
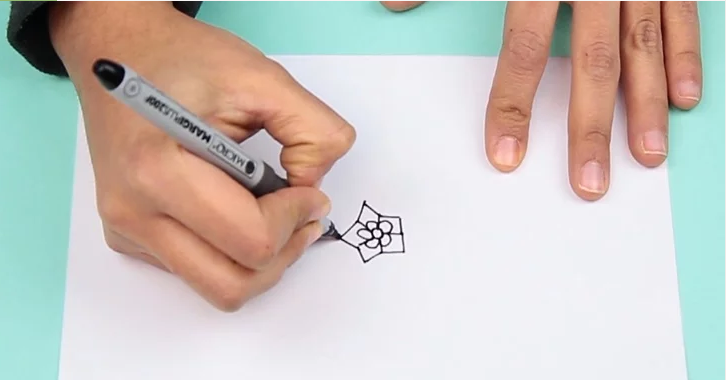
Step 3: Draw the design on your skin with the eyeliner pencil
Take your time and make sure the design is applied exactly how you want it to look. If you don’t like it, you can wash it off and start over.
- You can draw your tattoo on any part of your body, but areas without a lot of hair might be easier to work with. Make sure the skin is clean and dry when you draw your design.
- Use a cotton swab to blend colors and create shading.
Step 4: Spray the design drawn with any Hair spray
A hair spray contains the same chemicals that act as a sealant for the tattoo to keep it from coming off for a few hours. There’s no need to completely soak it; just give the area a light application. You can also use a clear nail polish/topcoat instead of hairspray. The clear nail polish/topcoat can be matte or glossy; it is up to you.
Step 5: Wash it off (When you want to)
This tattoo will last about a day before it begins to smudge. It washes off easily with warm, soapy water. You may want to remove it before going to bed to avoid getting eyeliner on your sheets. If you’re using clear nail polish instead of hairspray, you can peel it off or remove it with nail polish remover.
2. Creating a Stencil Tattoo
Step 1: Make a stencil
You can create professional-looking temporary tattoos by making a stencil, which helps you control the tattoo design rather than relying on your drawing skills to do the job. Decide what shape you want your tattoo to be, draw it on an index card, and cut out the shape using a cutting knife or a pair of small scissors.
- Simple, bold shapes are the easiest ones to create with this method. Try diamonds, circles, and other geometric shapes.
- For a more detailed tattoo, you can create a stencil based on an existing image. Check out How to Make a Graffiti Stencil for more information on this method.
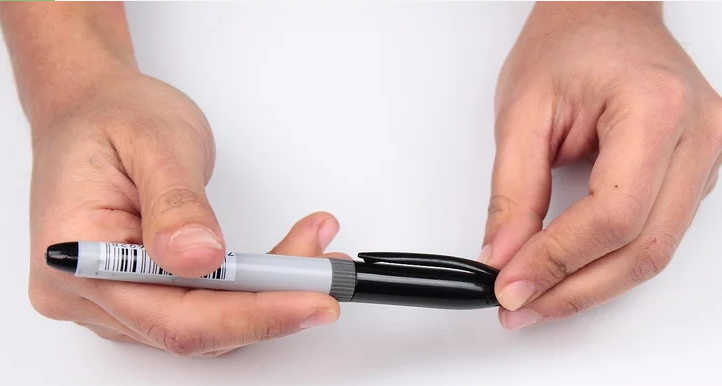
Step 2: Buy Permanent Markers
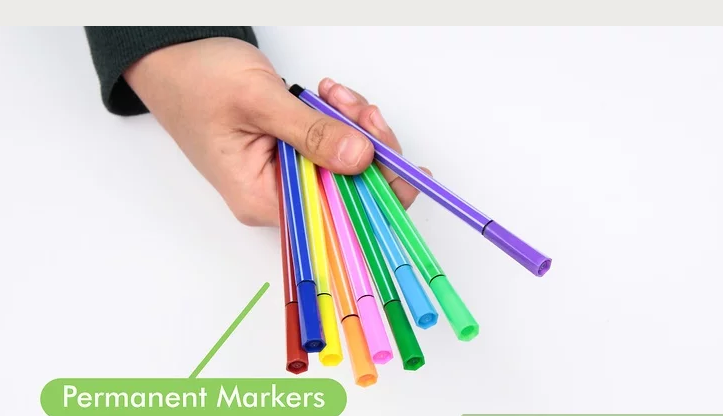
Choose one or more marker colors to use with your stencil. Black is a classic option, and may be the most likely to help your tattoo pass as a real one. Using another color can be just as fun.
- Permanent markers contain chemicals that aren’t meant to be used on skin. Look for markers that are labeled as safe for this type of use.
- If you’d rather not use permanent markers, washable markers are also fine. The tattoo just won’t last quite as long.
- Another good ink choice is stamping ink, which comes on wet stamping pads. To use this type of ink for your tattoo, press a cotton ball onto the ink pad and use it to wipe the ink over the stencil and onto your skin.
Syep 3: Apply the Tattoo
Place the stencil against the part of your body where you want the tattoo to be. Use one hand to hold it firmly against the skin, so that the cut out shapes are lying flat. Use the other hand to color in the shapes with the markers you chose. When you’re finished, lift the stencil away and allow the marker ink to dry.
- Make sure you apply the tattoo to clean, dry skin. Shave the hair in the area for a more even application.
- If you have trouble holding the stencil in place, try using tape to affix it to the area. You could also try applying the tattoo to a part of your body with a flatter surface.
Step 4: Remove the Tattoo
When you’re finished sporting your temporary tattoo, it can be washed off with warm, soapy water, or you dab a cotton pad in oil and ‘scrub’ your tattoo off.
3. Making a Paper Tattoo
Step 1: Buy water slide paper
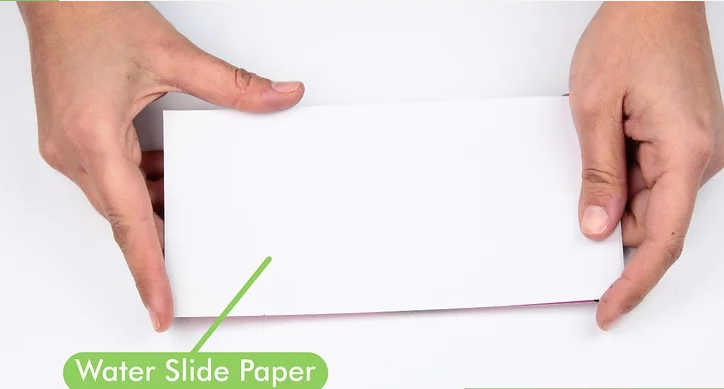
Have you ever bought a temporary tattoo from a quarter machine or the toy store? These temporary tattoos are printed onto water slide paper, a special paper lined with adhesive on one side. The tattoo design is printed with ink on the adhesive.
- Water slide paper is available online or in craft stores.
Step 2: Design the Tattoo
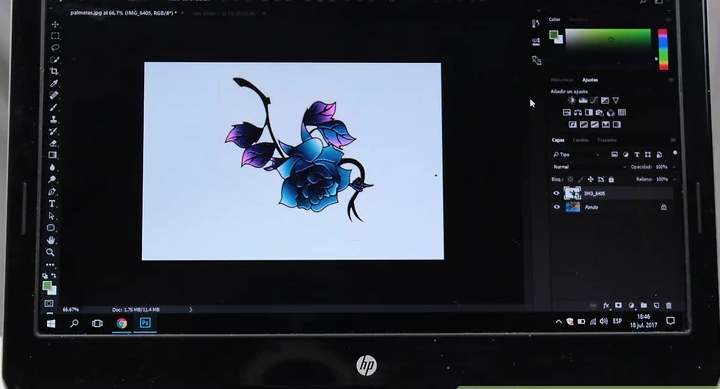
The sky is the limit when you’re using water slide paper; any shape, color or pattern will print beautifully onto the paper and show up clearly on your skin. Use Photoshop or a similar computer program meant for creating images to come up with a tattoo design.
- Decide whether you want the tattoo to be in black and white or color. If you have a color printer, your design can include as many colors as you want.
- Choose colors that will show up well against your skin.
- Keep in mind that when you apply the tattoo, the image will be reversed on your skin. That means that if your tattoo includes a word, it needs to be reversed in the design, or it will read backwards once you put it on.
Step 3: Print the Tattoo
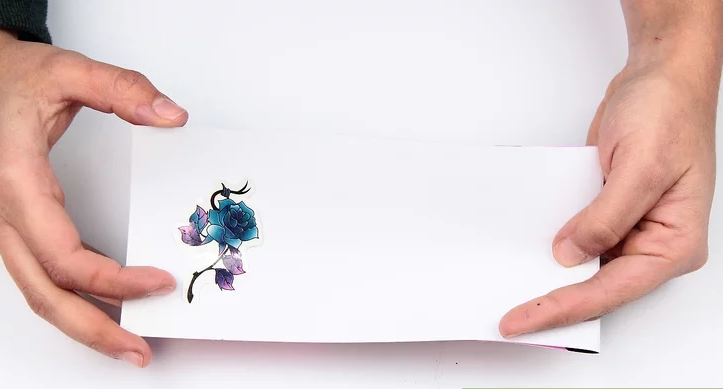
Feed the water slide paper into the paper handler in your printer. Make sure the paper is placed correctly so that the image will be printed onto the adhesive, not the matte paper. Cut out the tattoo with a pair of scissors when you’re finished.
Step 4: Apply the Tattoo
Place the tattoo ink-side down on your skin. Cover it with a damp cloth or paper towel. Press down on the cloth or paper towel and hold it in place for 30 seconds. Remove the cloth or paper towel and peel back the paper. The dampening process causes the adhesive to “slide” from the paper to your skin.
Step 5: Remove the Tattoo
This type of tattoo may last a week or more before it starts to peel off. If you want to remove it before it comes off on its own, scrub it off with soapy water and a scrub brush.
4. Creating a sharpie Tattoo
Step 1: Buy any color Sharpie.
Also get some baby powder and hairspray.
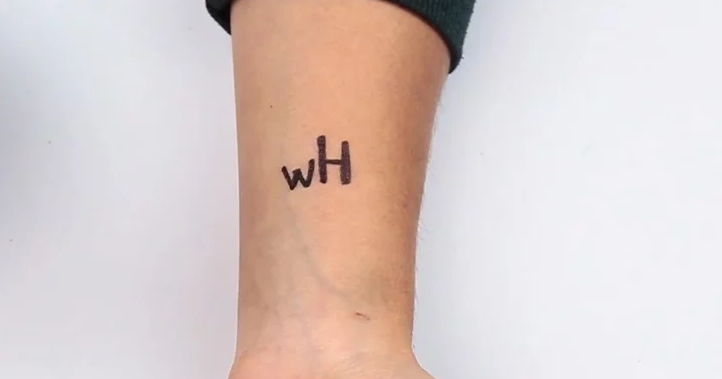
Step 2: Draw the tattoo onto your body.
Use whatever design you like and place it wherever you want, somewhere easily reachable.
Step 3: Rub the tattoo with baby powder.
Step 4: Apply the hairspray lightly onto the tattoo.
Don’t use too much, or your skin will feel extremely dry. If you spray too much by accident, get a cotton swab and dab the area around the tattoo with water.
Enjoy your own experimented temporary Tattoos. The last tattoo should last around a month.
Akif is a Web Designer, Developer and Educator specializing in WordPress and Expression Web. He has Published and Designed several Websites. He spends a lot of his time thinking about and sharing his knowledge of the internet, Information Technology and Web design and Development. Also he is passionate about Fashion Industry. In 2012, he started publishing Fashion related Blogs. Sizzling Magazine is one of them!


Leave a Reply